
How to Replace a Light Switch Safely: A Beginner's Guide
A cracked, yellowed or crackly light switch is annoying, and it can be a safety concern too. The good news is that swapping a standard switch is one of the most approachable jobs in DIY electrical work, provided you take the safety steps seriously. Here's how to replace a light switch with confidence.
Before You Start: Is This a Job for You?
Replacing a switch like for like, on a circuit that is in good condition, is a reasonable task for a careful beginner. In England and Wales, this type of straightforward replacement is generally not notifiable under Part P of the Building Regulations. Rules differ in Scotland and Northern Ireland, so check locally if you live there.
Call a qualified electrician instead if you spot any of the following:
- Scorch marks, a burning smell or melted plastic around the switch
- Old rubber or fabric-covered cables, or crumbling insulation
- No earth conductor in a metal switch box or faceplate
- Wiring you can't make sense of after looking carefully
- A switch in a bathroom, where special rules about zones apply
Tools and Materials
- A new switch of the same type (one-way or two-way) and a matching back box depth
- A non-contact voltage tester, ideally plus a two-pole voltage tester
- Small flat-head and cross-head screwdrivers (insulated ones are best)
- Wire strippers
- A torch or head torch
- Masking tape and a pen for labelling
- Green and yellow earth sleeving, if the earth wire is bare
- A phone to photograph the wiring
Step-by-Step: Replace a Light Switch
1. Switch Off the Power
Go to your consumer unit and switch off the circuit that feeds the light. If you're unsure which one it is, switch off the whole house. Tape over the switch or use a lock-off device, and tell everyone in the home what you're doing.
2. Remove the Faceplate
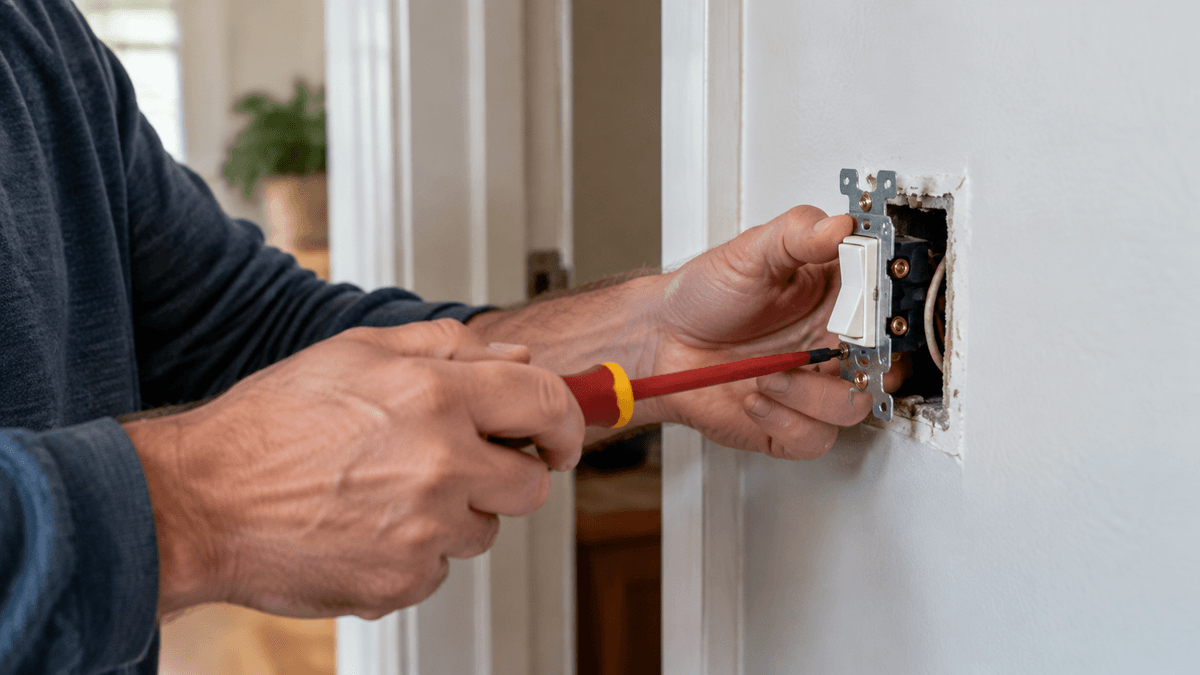
Unscrew the faceplate and gently pull it forward from the wall. Don't touch any wires yet.
3. Prove It's Dead
This is the most important step in electrical safety. Check your tester on something you know is live, then test the terminals and wires in the switch box, then re-check the tester on the known live source. Never trust a circuit is dead just because the light won't come on.
4. Photograph and Label the Wiring
Take a clear photo of the light switch wiring before you disconnect anything. On a one-way switch, you'll usually see two cables or wires going to two terminals. On a two-way switch, there will be three terminals, usually marked COM, L1 and L2. Put a piece of tape on the wire connected to COM so you can return it to the right place.
5. Disconnect the Old Switch
Loosen the terminal screws and ease the wires out. Check the copper is bright and undamaged. If the ends are blackened or brittle, trim back to clean copper and re-strip about 10mm of insulation.
6. Connect the New Switch
Match each wire to the same terminal as before, using your photo and labels. Insert the bare copper fully, so no insulation is trapped under the screw and no copper is visible outside the terminal. Tighten firmly, then give each wire a gentle tug to confirm it's secure.
If there is an earth conductor, connect it to the earth terminal on the switch or faceplate if one is fitted. Bare earth wires should wear green and yellow sleeving.
7. Refit and Test
Fold the wires neatly into the box without pinching them, and screw the faceplate on straight. Restore the power at the consumer unit and test the switch. If the light doesn't work, or the circuit trips, switch off at once and re-check your connections.
Understanding Wire Colours
In modern UK installations, brown is live, blue is neutral and green and yellow is earth. Older wiring may use red, black and bare earth. In a switch box, the blue wire in a switch drop is often used as a live conductor, and it should be sleeved brown. If you see this, it is normal. If the wiring looks unlike anything you can identify, stop and get advice.
Choosing the Right Replacement
- Standard switch: Check the gang count (one, two or three switches on a plate) and whether it's one-way or two-way.
- Dimmer: Make sure it suits your bulbs. Many LED lamps need a dimmer designed for LEDs, with a suitable minimum and maximum load.
- Metal faceplate: This must be properly earthed.
Finishing Touches and Tips
- Don't overtighten the faceplate screws, as this can crack the plate.
- If the back box sits proud of the wall or is loose, fix that now.
- Keep your old switch until you're sure the new one works.
- Dispose of it at your local tip's electrical recycling area.
Final Thoughts
Replacing a light switch takes about half an hour once you've done it before, and it's a good first step into home electrics. Isolate the power, prove it's dead, photograph everything and take your time. If anything doesn't look right, there is no shame in calling a professional.