
Swap a Pendant Light Fitting Safely and Give a Room a Fresh Look
A tired, yellowing lampshade can make a whole room feel dated, and a new pendant light can lift it for the price of a few cups of coffee. The job is well within reach for a careful beginner, as long as you treat the electrics with respect. This guide walks you through how to change a light fitting without drama.
Is This a Job for You?
Swapping one ceiling pendant for another, like for like, is a common DIY lighting task. Wiring a pendant light is much the same whatever it looks like, so the steps below suit most homes.
Stop and call a registered electrician if you see any of the following:
- Cloth-covered or crumbling rubber cable, or scorch marks on the ceiling rose.
- No earth wire where your new fitting needs one.
- Wiring that doesn't match what you expect and that you can't confidently identify.
- A bathroom, shower room or other damp location, where the rules on enclosure ratings and zones are strict.
Calling someone in is sensible, not a failure. Never carry on if you feel unsure.
What You'll Need
- A new pendant light, with its own instructions
- A non-contact voltage tester (and ideally a proving unit or a known live source to check it works)
- Insulated screwdrivers
- Wire strippers
- A sturdy step ladder
- A torch or head torch
- Masking tape and a pen
- A phone for taking photos
Before You Start: Check Your Fitting
Weight and bulb type
Check the weight of the new pendant against what your ceiling rose and ceiling can carry. Heavy glass or metal designs may need fixing directly to a joist or a proper support rather than hanging from the rose alone. The packaging should say what's suitable.
Bulbs and the shade
Look at the maximum bulb rating on the fitting, and go for LED bulbs where you can. They use far less electricity and last much longer, which is better for your bills and for the planet. If your new shade is large, make sure it hangs well clear of heads and doesn't sit too close to the bulb.
Step-by-Step: Swapping the Pendant
- Switch off at the consumer unit. Turn off the circuit that feeds the lights. Don't rely on the wall switch alone. Tape over the switch or label it so nobody turns it back on while you work.
- Test the light is dead. Flick the wall switch on and off to confirm the light doesn't come on, then use your voltage tester on the wires once you've opened things up.
- Remove the shade and bulb. Let any bulb cool first. Then unscrew the ceiling rose cover and lower it gently.
- Photograph the wiring. Take a clear picture before you touch anything. Note which cable goes where, and label wires with tape if it helps.
- Test again. Check every conductor in the ceiling rose with the tester. Only carry on when you're sure everything is dead.
- Disconnect the old pendant. Loosen the terminal screws and free the old flex, supporting the weight as you go.
- Connect the new flex. In modern wiring, brown goes to the live terminal, blue to neutral and green-and-yellow to earth. Strip only enough insulation to sit fully inside the terminal, with no bare copper showing outside it.
- Check the connections. Give each wire a light tug. A loose connection can overheat, so be thorough.
- Refit the cover and hang the shade. Make sure no wires are pinched, then fit the bulb.
- Restore the power and test. Switch the circuit back on at the consumer unit and try the light.
Understanding the Ceiling Rose
The ceiling rose is the round fitting on the ceiling that holds the connections. Some are simple, with a few terminals. Others hold several cables because they pass power on to other lights. If yours looks crowded, photograph everything carefully and take your time.
Older homes may have red and black wiring rather than brown and blue. That points to older installations and is a good moment to ask a professional for advice, particularly if you can't tell which wire does what.
Tips for a Better Result
- Adjust the flex length before connecting, so the pendant hangs at a comfortable height. Over a table, about 70 to 80 cm above the surface often works well.
- Choose a warm white bulb for living areas and a cooler tone for work spaces.
- Reuse a good shade if the fitting is the only thing worn out, or pass the old pendant on through a local reuse group rather than throwing it away.
- Take hazardous or electrical waste to your local tip's recycling area.
Finishing Touches
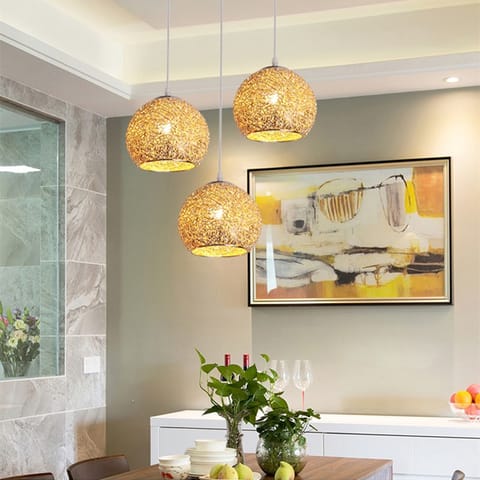
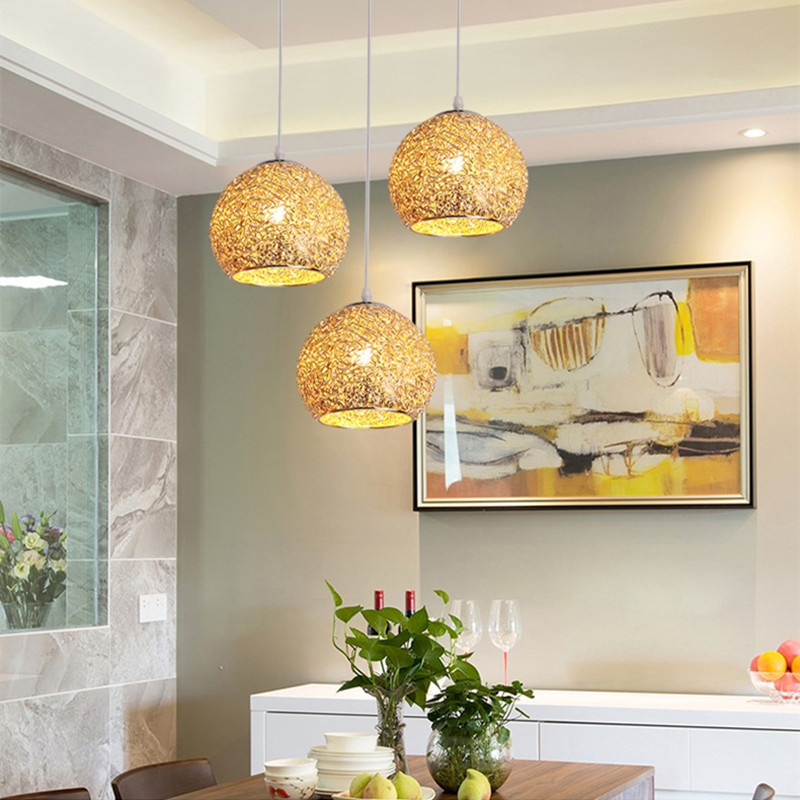
Once the new pendant light is up, step back and look at the room. A bold shade can act as a focal point over a dining table, while a slim design suits a hallway. Pair it with a dimmer switch later if you want more control over the mood.
To replace a light fitting safely, the routine matters more than the speed: isolate, test, photograph, connect, check. Follow it every time and you'll enjoy a fresh-looking room with confidence in the work behind it.