

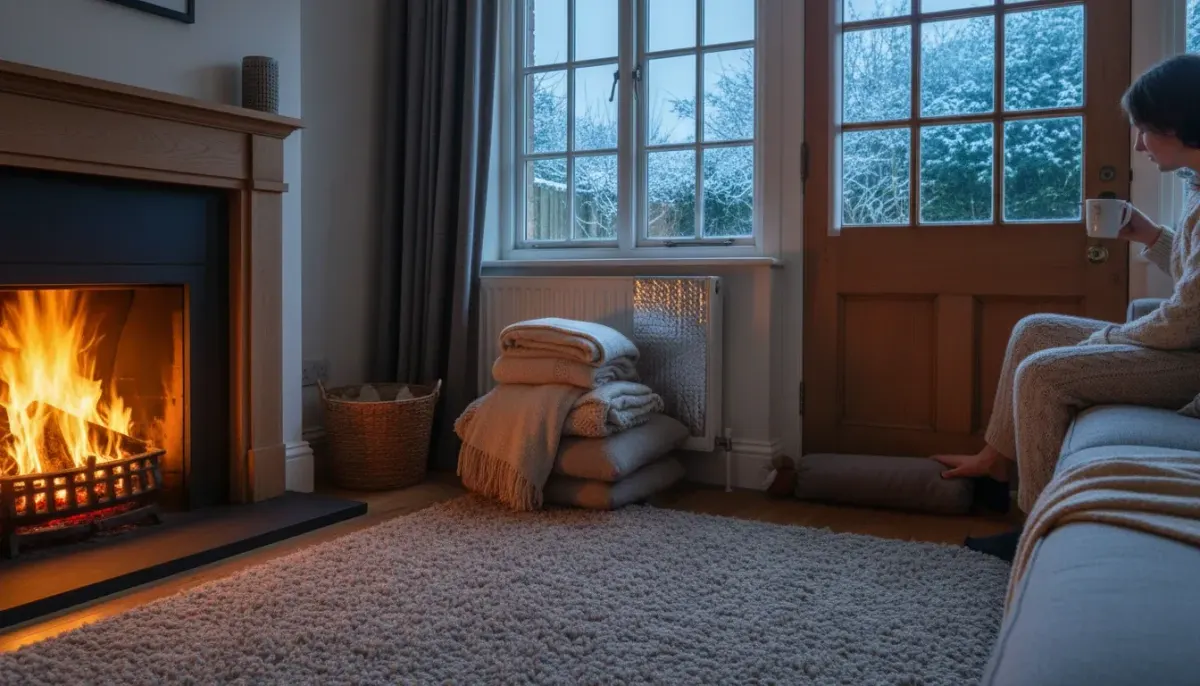
Draught-Proof Your Home on a Budget for a Cosier Winter
The heating is on, yet there's a chill around your ankles and the curtains twitch when every window is shut. Draughts let warm air slip out and cold air creep in, so your boiler works harder than it should. The good news is that draught proofing is one of the friendliest budget DIY jobs around. Most fixes take minutes, need no special skills and make a real difference to how comfortable a room feels.
Find the Draughts First
Before you buy anything, work out where the air is getting in. Pick a breezy day, close all the windows and doors, and turn off any extractor fans. Then move slowly around each room.
- Hold the back of your wet hand near suspect gaps. Damp skin picks up moving air quickly.
- Or hold a lit incense stick near the gap and watch whether the smoke wavers or blows sideways. Keep it well away from curtains and other fabrics.
Check around window frames, external doors, letterboxes, keyholes, skirting boards, floorboards, the loft hatch and anywhere pipes or cables pass through a wall. Jot down what you find so you can buy the right materials in one trip.
What You'll Need
- Self-adhesive foam or rubber seal strip for window and door frames
- A brush strip or door-bottom seal for gaps under doors
- A letterbox brush or flap, and keyhole covers
- Flexible decorators' caulk and a caulk gun
- Scissors, a tape measure, and a cloth with warm soapy water
- A chimney balloon or similar draught stopper, if you have an unused chimney
These items are generally inexpensive, and you can tackle one room at a time to spread the cost.
Sealing Windows and Doors Step by Step
Gaps around opening windows and doors are usually the biggest culprits, and self-adhesive strip is the simplest remedy.
- Clean the frame. Wipe away dust and grease, then dry it thoroughly. The adhesive won't stick to a dirty or damp surface.
- Measure the gap. Choose a strip thickness that fills the space without stopping the window or door from closing properly.
- Cut to length. Cut each piece slightly long, then trim for a snug fit at the corners.
- Peel and press. Stick the strip along the part of the frame that the sash or door closes against, pressing firmly as you go.
- Test it. Close the window or door. It should shut with gentle resistance. If it's hard to close, swap in a thinner strip.
Doors need a little extra
Fit a brush strip or seal along the bottom of the door, and add a brush or flap to the letterbox. A keyhole cover stops the thin stream of air that often goes unnoticed. Together these small additions can transform a hallway that always feels icy.
Caulk the fixed gaps
Where a frame meets the wall, or where skirting boards sit against the floor, use flexible caulk rather than strip. Cut the nozzle at an angle, run a steady bead along the gap and smooth it with a damp finger. Let it cure fully before painting over it.
Don't Forget the Hidden Gaps
Some of the worst leaks are out of sight.
- Loft hatch: Fix a